This is part two of my shop remodel. If you missed part one, you can find it here.
Where were we? It’s the summer of 2013 and I had just finished up my lumber rack. A few other woodworkers gave me grief for using 8/4 oak for that build. Lo siento, it's very reasonable where I live. So, just to rub it in, I was about to "waste" a lot more white oak and walnut in my shop (snicker).
After I moved all that stuff into my new shed, I had a big empty wall in the back of my shop. I sorta missed the ugly old construction lumber bench I had moved into my shed. But I had big plans for a joinery bench in that space back yonder.

Then, fate struck. I was contacted about the opportunity to purchase a bunch of second hand Lie-Nielsen tools for a great price. Ya, it was too good to pass up. I spent all my furniture sales proceeds and then some. But...well....

Ain't they purdy? I was glad I had the cash at the time to make the deal, but I had to put the joinery bench on hold until I sold some more furniture.
So, no dinero for a joinery bench. I still needed somewhere to put all these stinkin' tools? From past experienc, I knew I wanted to my shop to have some flexibility with the new layout. I”ve always been a fan of "french cleats", and I decided they were the solution for the back wall of my shop.
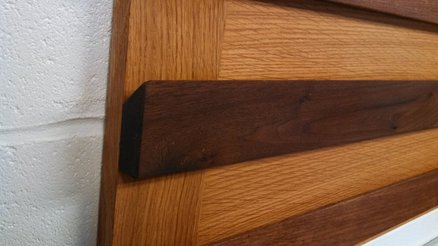
I built the cleat board first, then slowly added tills for months afterward.
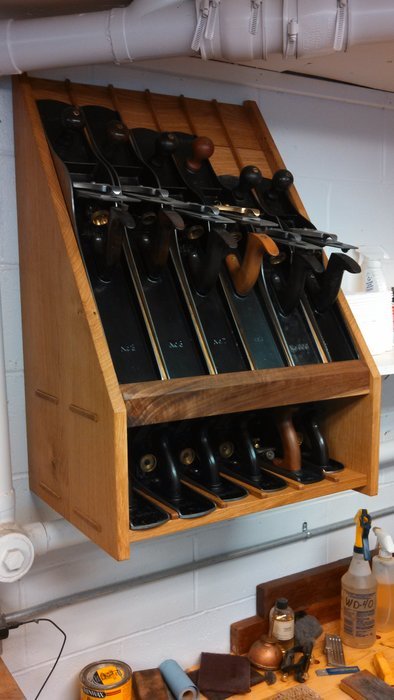
Then I needed a place for my larger-sized hand planes. When I played with the dimensions, I realized I didn't want a till that large on the french cleat board. So, I found another place on the wall and built this.
The obvious downside to my french cleat and tills is the exposure to dust. I thought about enclosed cabinets hanging on my cleats. But access to the tools is more important to me. I don't want to be messing with doors while I'm working. So, I just keep my tools oiled and waxed. Then I blow them off with compressed air from time to time.
That summer I had a few furniture orders lining up and I still needed another work surface on that back wall. Well, that and I was paranoid about a my tools mounted on the french cleat board with nothing but concrete floor below. So I tallied up what 8/4 white oak I had and decided I could at least make the shell (legs and top) to a joinery bench. So I went at it.

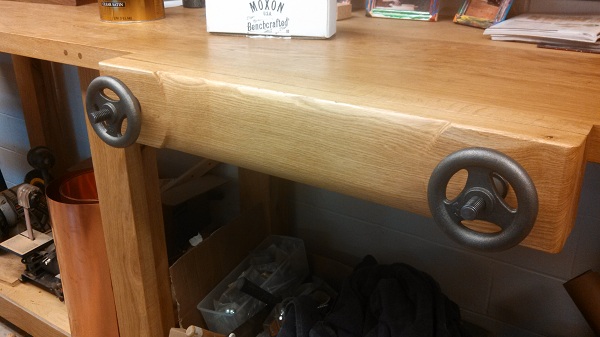
Then, with some fantasy baseball winnings, I bought the benchcrafted moxon vise hardware. That turned out really nice.
Shop cabinet upgrade: I never liked the birch plywood panels on my shop cabinets. The plywood panels looked like crap after I put danish oil on them years back. I kicked around options for some time. Then I saw these 9x11" stanley hand tool prints on feebay. Did some measuring and figured I could use them on the panels. It worked really well. I just took the thin plexiglass out of some cheap poster frames and used a pin nailer.


Time moves on to 2014, when I finished the cabinets below my joinery bench.


Last, I swapped another woodworker for an old lather. I just needed to build a stand for it….

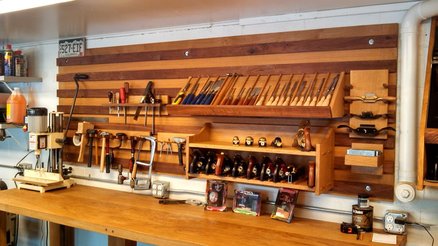
That’s it folks. You're all up to date. As you can see, my shop has been quite the labor of love. I'll leave ya with a couple pics of my shop as she rests tonight.

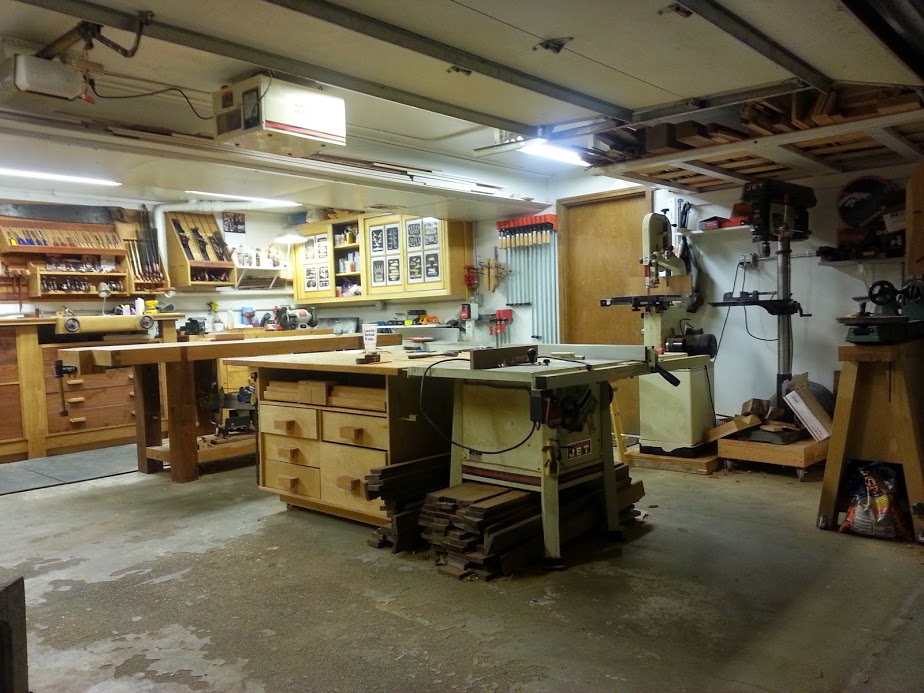
If you go back to the very first picture in this blog series, the one with my old pine bench, you can see my woodworking skills advanced right along with my shop. It's been quite a ride. Thanks for reading.
I’ll be in my shop should you need me,
Dan Westfall
Last, I swapped another woodworker for an old lather. I just needed to build a stand for it….
That’s it folks. You're all up to date. As you can see, my shop has been quite the labor of love. I'll leave ya with a couple pics of my shop as she rests tonight.
If you go back to the very first picture in this blog series, the one with my old pine bench, you can see my woodworking skills advanced right along with my shop. It's been quite a ride. Thanks for reading.
I’ll be in my shop should you need me,
Dan Westfall