First, find some sort of hardwood in your rack or cutoff bin that would be good for the slides. I used some 5/4 red oak in this case. Hard maple would be even better.
Then, I make a jig out of scrap plywood and brads. I like to "sandwich" the drawer slide piece(oak in this case) between the plywood scraps. Then I nail it with a crosspiece and edge runners on the underside (pic below). This makes the jig the exact width you need.
Also, I make it so the groove is centered on the drawer side. This way the same jig will work on both sides of the drawer. With your jig made, rout out the groove with a pattern bit.
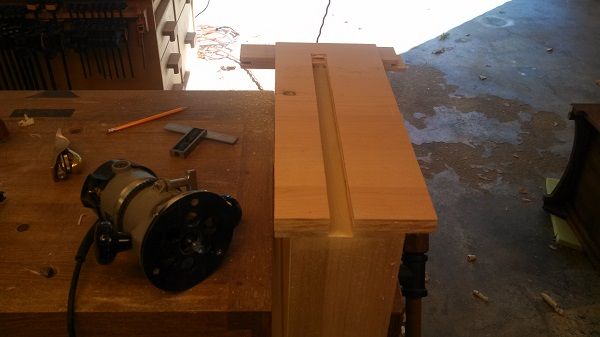 |
| Routing with the jig in place. |
After you have your grooves in you drawer sides, find some stock to make your tracks (below). I use a dado blade. You want these to fit your oak slides snugly as well.
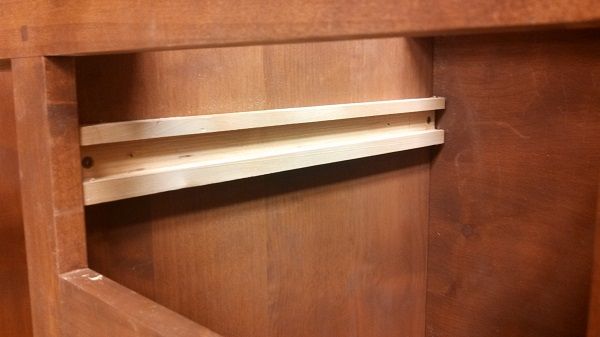 |
| (Picture is after installation) |
Now for the install. With the drawer in place, you’ll need to do some figuring to see how wide your oak slides need to be. The space on the left of the drawer might not be the same as the space on the right. Figure the best you can. Error on the big side. You can always plane the oak slide down.
Then, it’s tricky but you need to get the drawer in place with the loose tracks and slides in place on both sides. Now level out the drawer as best you can with a square.... or whatever reference point you have. Take a pencil and mark where the track is towards the rear of the case. Always start with the rear. Just needs to be close.
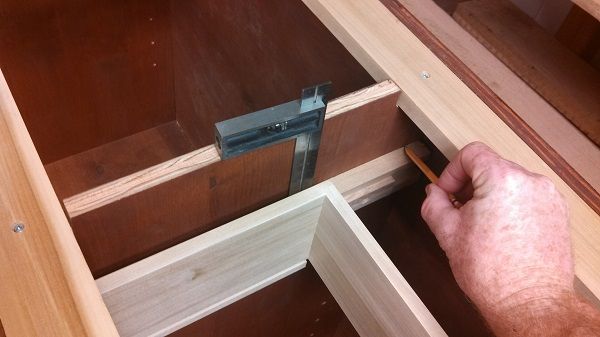
Screw in the rear of the track according to you marks. Now, put all the parts back in and shim your drawer so the reveal looks good around the front. Then you can mark the front edge....
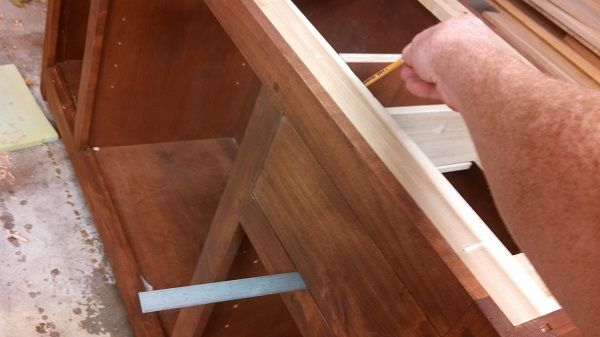 |
| Yes, I really have that many freckles. |
After that, screw in the front part of the track and check. If it’s not good the first shot, no biggie. Your pencil line is a reference. Remove the screw and adjust accordingly….til you get it.
Now for the stops. The oak slides are sill loose. Let the drawer push them back to the right spot (flush face). Mark if you can. I usually just stick a ruler down, hold it in place while I remove the drawer. You should only have to do this once. Use your square as a gauge for the others.

That’s pretty much it. To get the drawer running smoothly. I’ll usually remove the oak runner one at a time and plane them to precision. The least amount play…the better. Too much slop makes them slide worse.
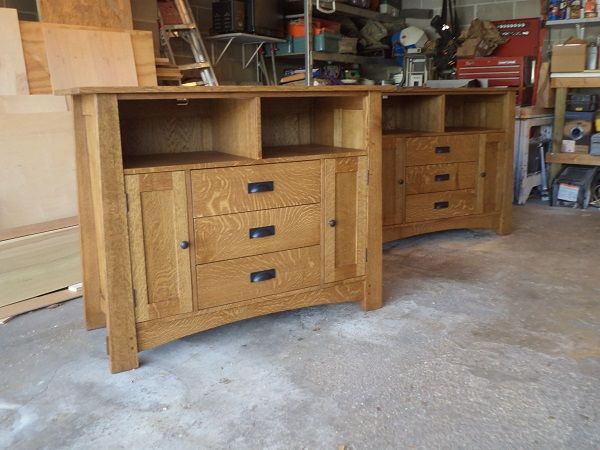
And if your doing stacked drawers, like on a dresser or tv stands below…do the bottom first. Then try to makes some scrap to use as spacers building upward. Don’t forget to rub some paraffin wax on dem slides.
Anyway. Hope it helps. If I save ya’ll some of the time and frustration it took me to learn this…it’s worth it. I can make/install wood slides faster than most metal slides now.
All that said, if anyone has ways to improve, I’m all ears.
Peace out,
Dan Westfall