Lots of action in this blog. If you've been reading, you know I'm a better woodworker than I am a writer. Hopefully the pictures help. Ha!
Glue Up:
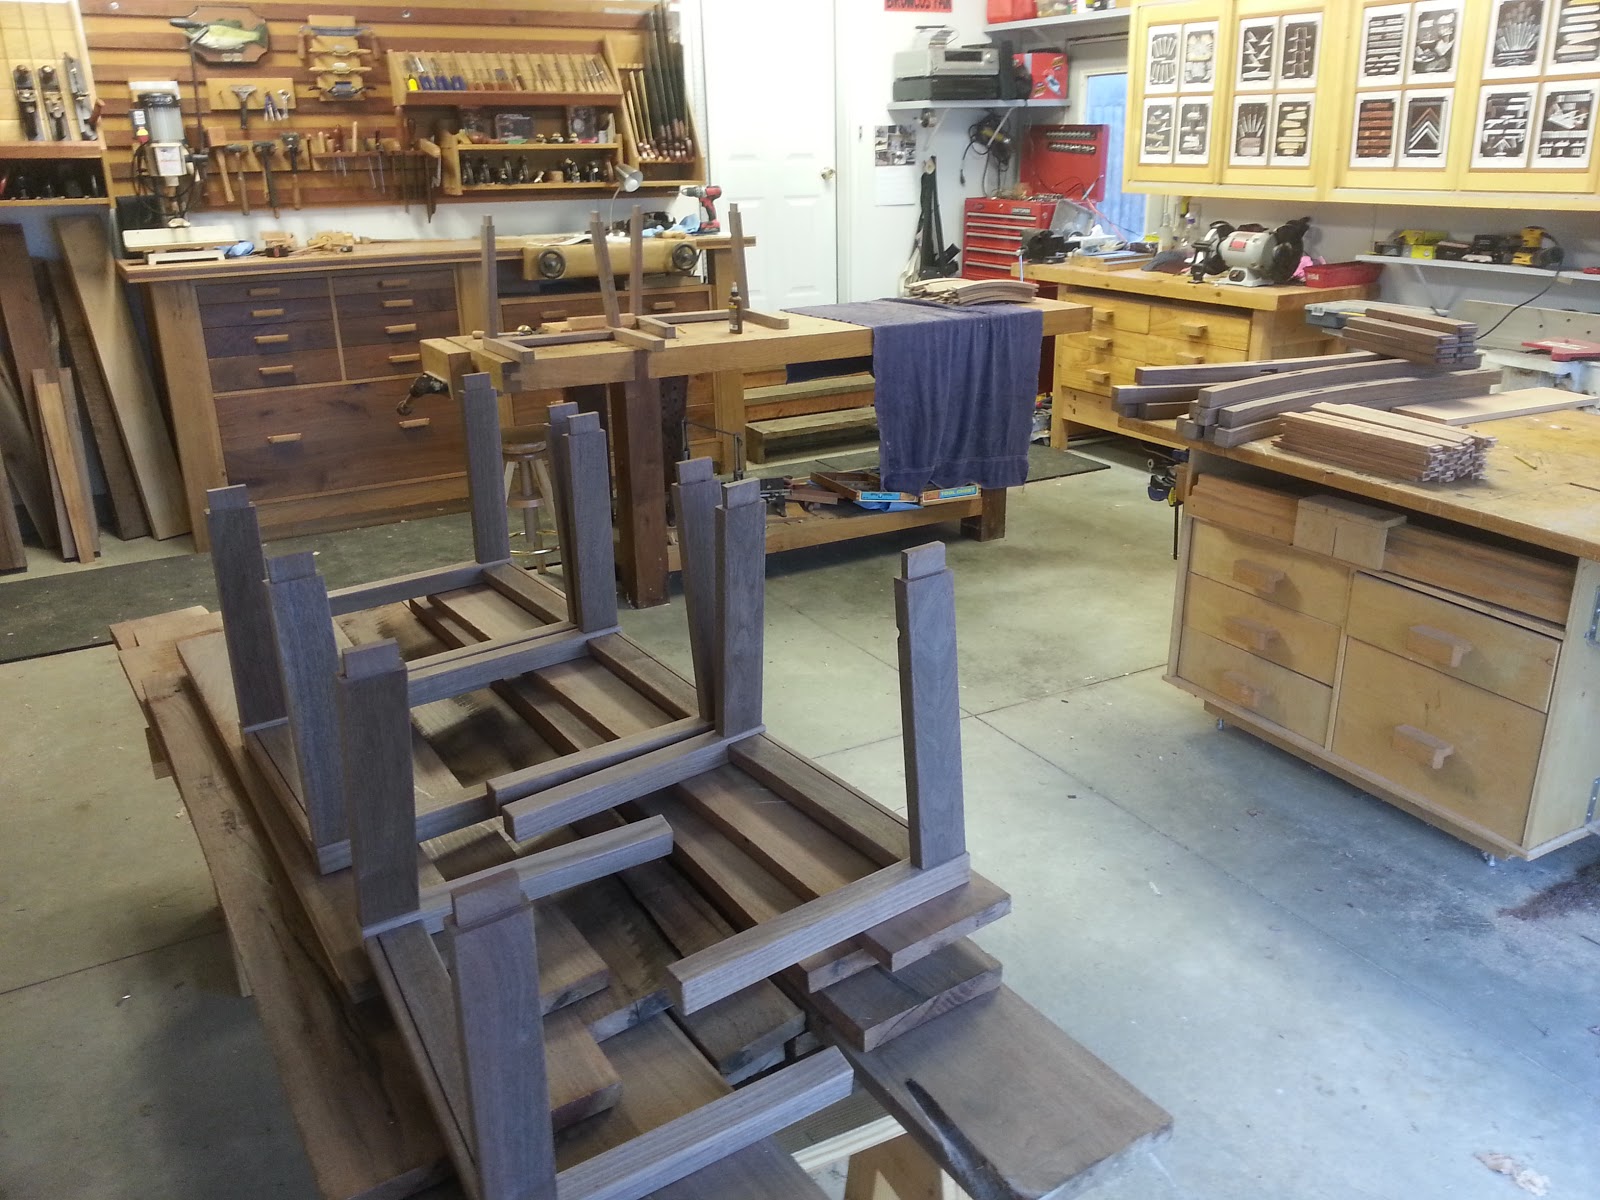
New town, new house, new shop. I've got the the chair parts laid out on my bench just as I left off this past summer.

It's almost time for some glue. However, this is no time to be haste (unless you wish for stress-induced aging). I tested each joint until I had all the chairs completely dry-fit assembled.

Here's a consideration I had to make for the front legs. The tenons are beveled a bit so they will both fit in the mortises where they meet inside the leg.

I always try to machine my joints so the tenons are barely over-sized, then I plane them to a snug fit.
What happens if I goof and the tenon has a loose and sloppy fit? Then I glue a shim! The joint doesn't know the difference. It's only a shame if you leave the joint sloppy, dooming it to premature failure.

The dry fit is a success. Now for a very strategic glue up.

I like to peg most of my chair joints with a hardwood dowel. (I also prefer liquid hide glue, but that's another story). Now, when attacking this glue up, I had to do it in such an order that I would not block access to pegging the desire joints. As seen here on the front legs:

See the little peg half-covered after assembly. Some might ask why not draw bore? It's a decent technique, but I think you'd risk blowing out small chair joints like these.

Front chair assemblies getting glued and clamped two at a time.
My shop elf test fitted each of the back assemblies. Then they were glued and clamped.


Lower Stretchers:

You gotta bring your A-game for lower stretchers. First, I mark the legs. Then, I calculate and cut the compound angle that meets the back leg (tablesaw and miter sled). Last, I mark and make careful cuts on the angle that meets the front leg until I get a perfect fit.

The lower stretcher should just rest in place lined up with the mortise marks.

For the tenons, I use 1/2" hardwood dowels, marked and drilled in each location.

With the lower stretchers in place (dry fit), I will make a dovetailed cross stretcher. Layout and marking:

My usual hand cut dovetail process. Except, I did take a swipe with a dado stack to hog out most of the waste before moving to hand tools.

Now I glued the front and back chair assemblies with the cross stretcher being the last step.

Trim with a flush-cut saw and plane to perfection. You won't find these at Ikea.

Decorative Pegs:
A final detail on the upper crest rail. These pegs do add strength I suppose, but they're mostly decorative.


Handsome detail. Diggin that curly cherry too.

Whew! Up next is the scuplted walnut seats.
Take care ya'll, and Merry Christmas.
Dan Westfall